Following a conversation with quiet reader...
If you need this update download, unzip and place it in your plug-ins user folder.
Attachment:
A pdf version of this guide:
Attachment:
 Fixed Margins v006.pdf [387.79 KiB]
Downloaded 110 times
Fixed Margins v006.pdf [387.79 KiB]
Downloaded 110 times
This update re-organises the dialog tabs and removes some redundant script.
Use the plug-in to create a file of character layers in custom font format which can then be decorated and manipulated by other plug-ins. Please use fonts that you know to be free to use and are made available with an appropriate license.
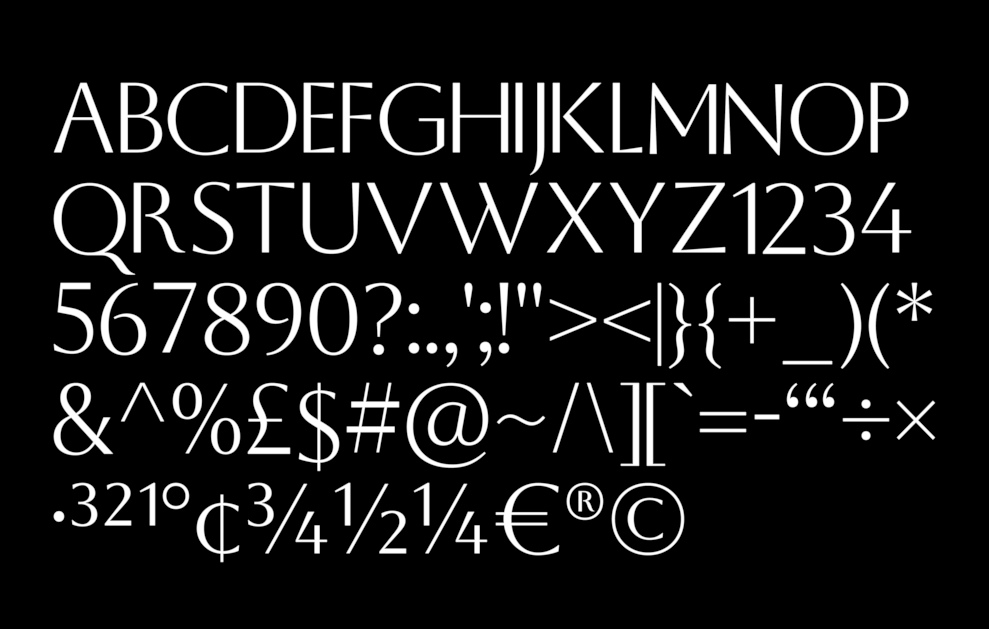
An example of a generated character set (having an appropriate license):
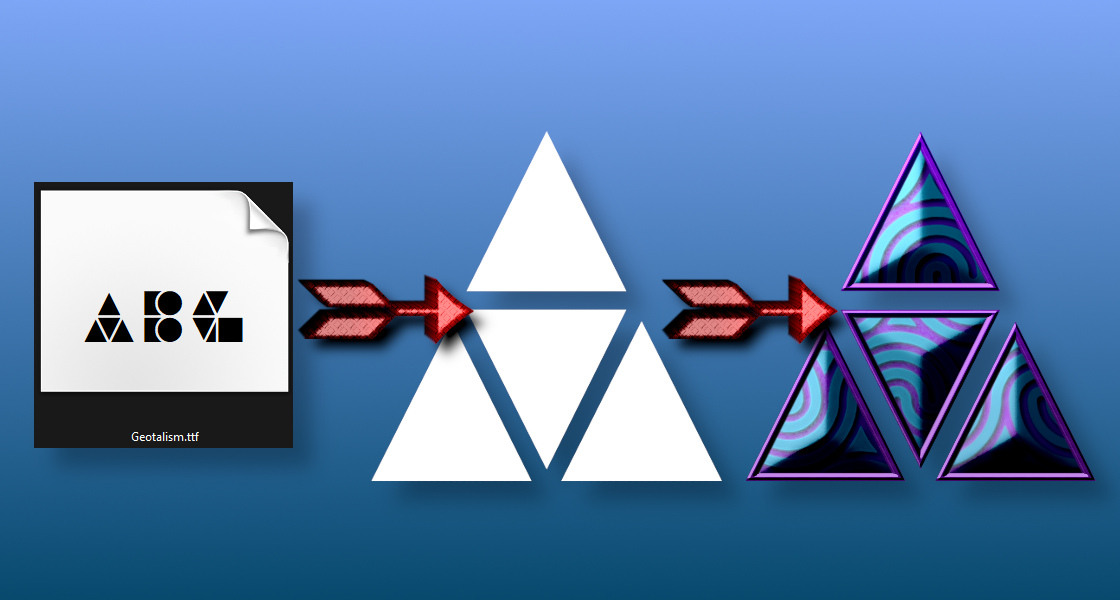
The custom font workflow would involve generating a set of character layers to be decorated using other tools and methods.
Open a new image - add an alpha channel if necessary.
Open the plug-in dialog:
Filters>>Custom Fonts>>Constructing Tools>>Custom Font Layers from Fonts with Fixed Margins v0.06 Tabbed...
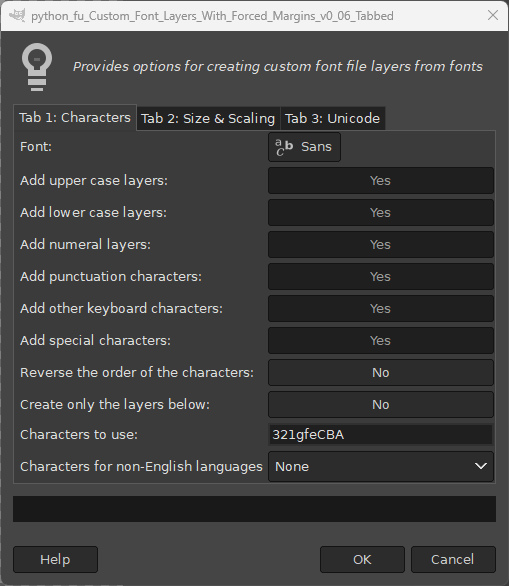
Use the first seven options on Tab 1 to choose a font using Gimp’s font selector tool and to decide which characters to create.
Bear in mind that some fonts (especially decorative fonts) often come with a fairly basic set of characters. The plug-in will do its best to inform you if a character does not exist but Gimp has a habit of providing an alternative character based on its Unicode library. It pays to look carefully through the layers to see how ‘helpful’ Gimp has been and delete any characters that you do not wish to use.
You can also use two of the options to create a smaller set of characters. Simply enter the characters in the text box provided and set the option to ‘Create only the layers below’. Clear the other options to ‘No’ and click on ‘OK’.
The last option on Tab 1 can be used to create accented characters for some non-English languages from the drop down menu.

The options on Tab 2 can be used to set the size of the custom font characters and the spacing around the characters that form part of each layer.

Use the first option ‘Font size’ to set the size of the original font to use. The left and right margin sizes determine the amount of space between individual letters. (This can be modified for pairs of letters by adding kerning paths to the image with the path tool and renaming the paths e.g. AC.png. Search GimpChat for more information about kerning paths.)
If you choose not to ‘Scale the custom font’ the characters will be created at the size set by Gimp’s Font tool. If you use the default option to scale characters you can set the size of the characters exactly to the height you require in pixels. Margins are applied with or without scaling.
The options on Tab 3 allow you access the various unicode character sets.
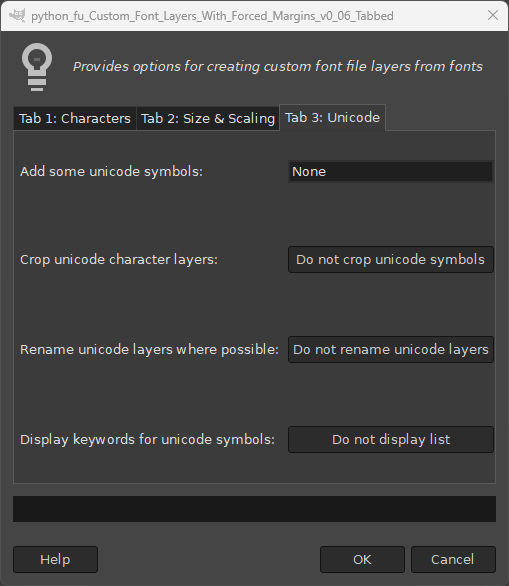
You can use the last option on the tab to display a list of keywords which can then be entered into the textbox in the first option:

If you type in the word ‘media’ in the text box it will generate 53 layers including the one below:

There are many interesting features such as arrows that, once generated, can benefit from a decorative treatment.
The dingbat arrow below...

...modified into an asset that can be used elsewhere.

The treatment of the unicode symbols is probably the subject of a new thread but hopefully this will provide a taste of what can be done.
Have fun (sensibly)...
 Login
Login Register
 Tweets
 FAQ
FAQ Advanced Search