PreGiffer can be used to make gif animation files for custom fonts in Gimp 2.10; it takes a lot of the drudgery out of the process.
A pdf version of the guide:
Attachment:
 PreGiffer-Help.pdf [1.57 MiB]
Downloaded 77 times
PreGiffer-Help.pdf [1.57 MiB]
Downloaded 77 times
Download and install the two plug-ins to your user plug-ins folder in Gimp 2.10 before playing.
Attachment:
 Plug-ins.zip [28.71 KiB]
Downloaded 87 times
Plug-ins.zip [28.71 KiB]
Downloaded 87 times
Use Custom Font Trailing version 0.3b to create an image with at least one custom font layer together with a background layer; then use PreGiffer to set the frame timings before applying one of the animation styles.
Open Gimp and create a new image (I used an image with a size of 900x600 px).
Colour your background layer in any way you wish if you do not want to use the background tools available with the Custom Font Trailing filter (I used a plain black fill).
Use the Gimp path tool to add a path to the image.

Call up the Filter dialog:
Filters>>Custom Fonts>>Using Tools>>Custom Font Trailing 0.3b…On Tab 1 click on the folder icon and navigate to and select the custom font that you want to use.

Click in the text box and, for now, add just one word.
Then Click on the 3rd dialog tab:
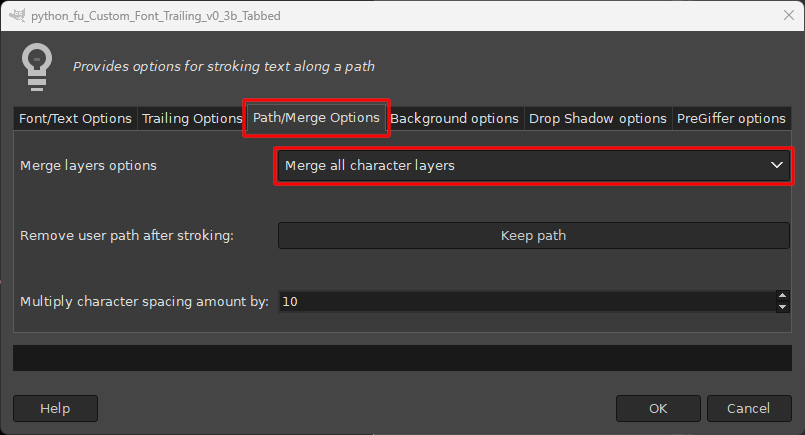
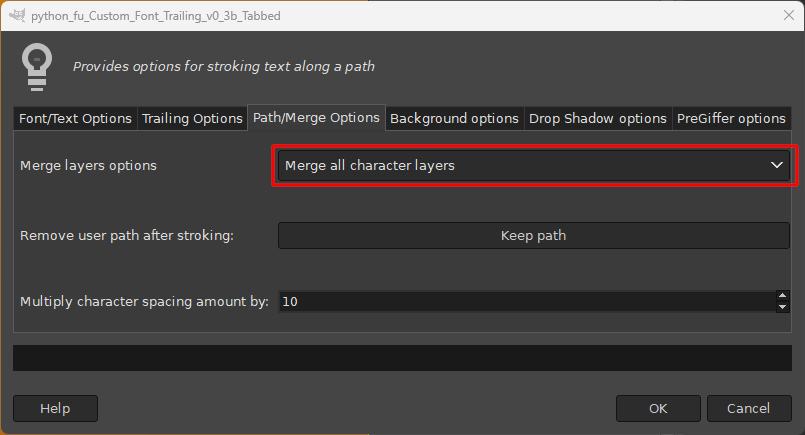
Change the ‘Merge layer option’ to ‘Merge all character layers’ and then click on ‘OK’ to let the filter do its work and stroke the text along the path.

The image now has two layers:

Time to look at the PreGiffer dialog:
Open the PreGiffer plug-in from:
Filters>>Custom Fonts>>Utility Tools>>Custom Font PreGiffer v0.1…
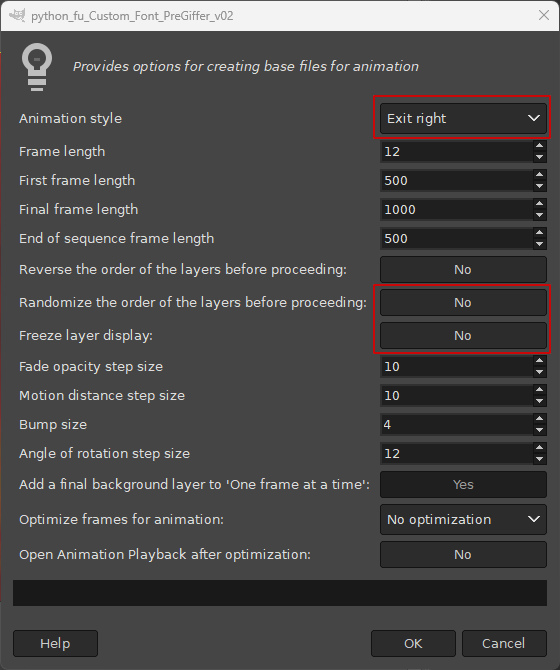
To see the animation styles, click on the style option drop-down menu:

Some options relate only to certain animation styles but the ‘Frame length’ options apply to all styles.
Use the default style and settings with your image in Gimp and click on ‘OK’.
PreGiffer will create a new image and generate the layers or frames (58 in my case) required to make it appear that the word ‘Gimp’ drops down from above into it’s original position.
The first frame layer thumbnail:
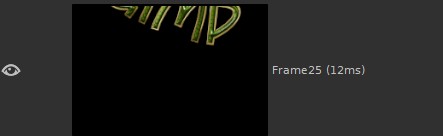
A mid-range frame layer thumbnail shows part of the apparently falling word:
And the final frame layer thumbnail – the word back in its position:

If you want to see how the gif looks like in action, use the Playback filter:
Filters>>Animation>>Playback…
Discard this image (you could save it if you really wanted) so that we can look at the next style, ‘From above bump’. Return to the original image and call up the PreGiffer filter dialog again. This time click on the ‘From above bump’ item from the ‘Animation style’ drop-down menu option. Use the default options again and click on ‘OK’.
The filter will send a message to the error console in Gimp, but will still create the new image.

This new image will contain more frames than the last one – 62 in my case. If you use the Animation Playback plug-in to view the gif animation you will see that the reason for the increase was to simulate a bump effect as the word returned to its original position on the screen.

The error message merely indicates that PreGiffer had tested to see if the last image it created was still available for use but could not be found. If it had been available, PreGiffer would have added the new frames to that image instead in order to build up a chain of animation styles.
End of Sequence FramesWhen there are more than two layers in the base image in PreGiffer you can make use of the ‘End of sequence frame length’ timings in the filter dialog.
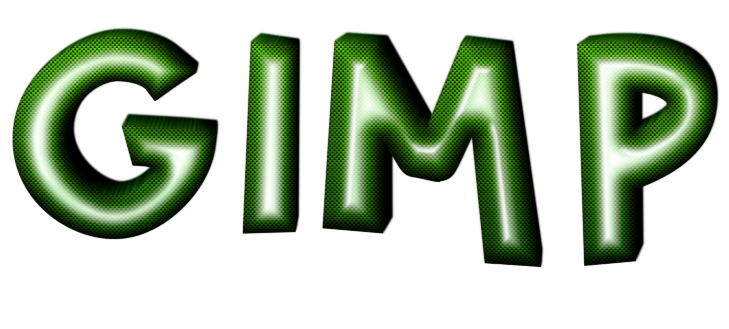
Create a new image with your custom font tools using the word ‘Gimp’ and with each letter on a separate layer and with a background layer. The image below therefore is made up of five layers.
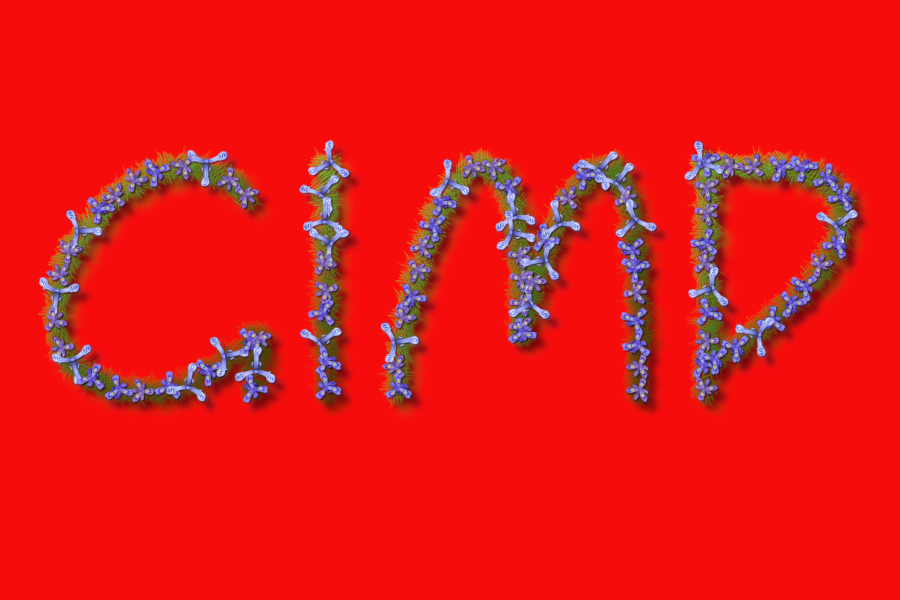
Open the PreGiffer dialog and select the ‘In from right’ item from the ‘Animation style’ option drop-down menu and click on ‘OK’.
Let PreGiffer generate the frames/layers in a new image (my new image contained 35 layers). Use the ‘Animation Playback’ filter to play the animation; you will see that now each letter slides in from the right to its original position in the word and that there is a short delay before the next letter slides into place. The length of this delay is set by the ‘End of sequence frame length’ option setting in the dialog.

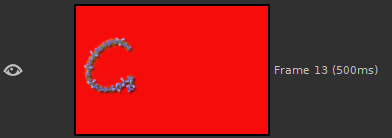
The default setting is for 500ms but this can be changed in the dialog to suit your needs.
The distance value option affects the amount of movement applied to this style of animation (i.e. ‘from left’, ‘from right’, ‘from above’ and ‘from below’ – with or without ‘bump’).
The ‘Spin around’ animation style makes use of the ‘Angle of rotation step size’ option which obviously affects the number of layers created in the new image. Smaller steps make for a smoother animation sequence but you may wish to lower the ‘Frame length’ to then speed up the rate of playback.
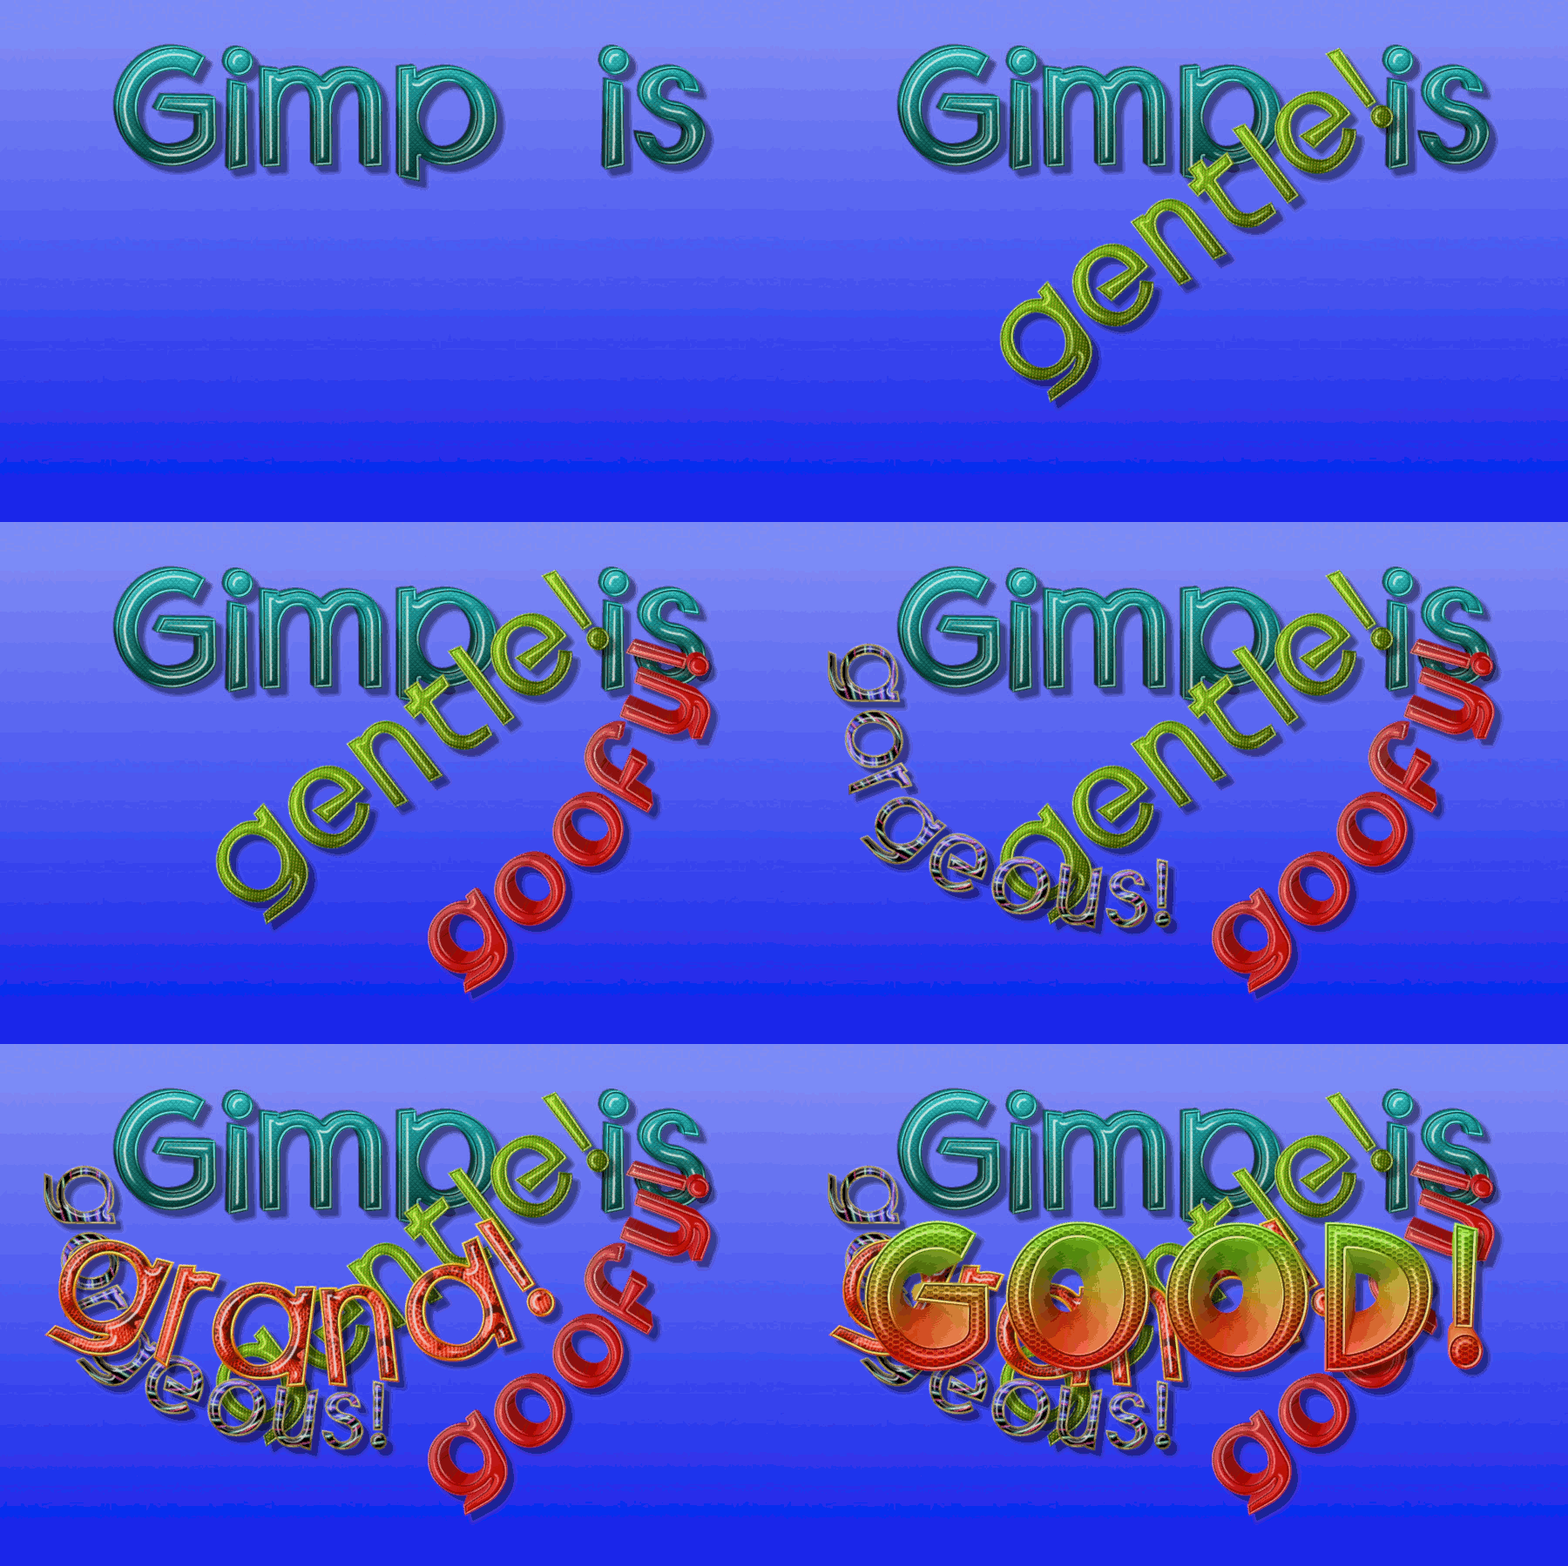
Two examples; the first has all character layers merged.

 Part 2:
The remaining two style options may offer a more flexible approach to animating custom fonts.
The basic difference between the two styles is that ‘One frame at a time’ uses a copy of each layer in the original image – whereas the ‘Overlay’ style adds the contents of each layer to the previous layer.
 Using One frame at a time for Expanding text:
To achieve this effect use Custom Font Trailing to create the base image. Tab 6 of the dialog has some PreGiffer specific options:
Add a new image to Gimp (900 x 600 for me) with a coloured background.
Add a path to the image with path tool (background not visible in the image below):

Open the Custom Font Trailing filter:
Filters>>Custom Fonts>>Using Tools>>Custom Font Trailing 0.3b…On the first tab, choose a custom font and set the ‘Character spacing amount’ to -30.
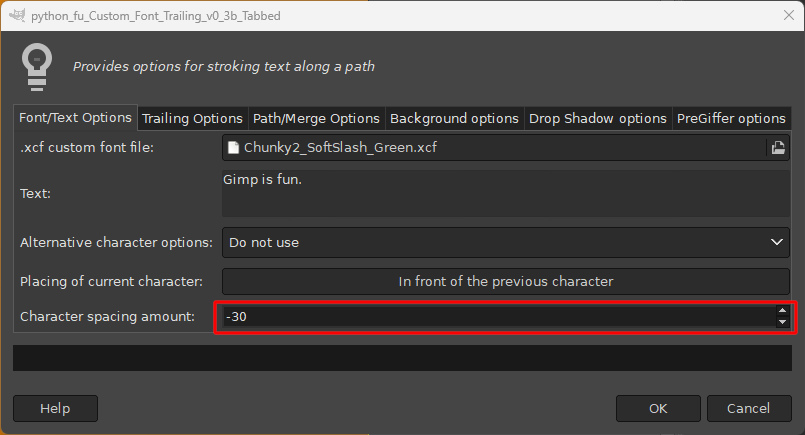
And on the second tab, set the ‘Merge layer options’ to ‘Merge all character layers’:
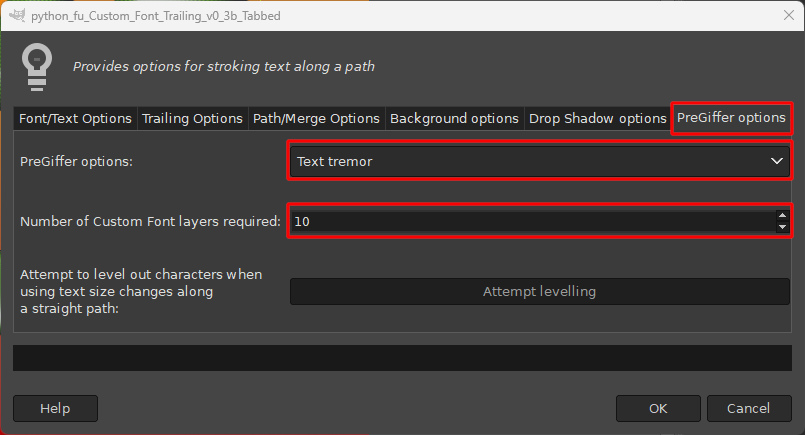
On the 6th tab choose the ‘Expanding text’ item from the drop-down menu for PreGiffer options and set the ‘Number of Custom Font layers required (10 in my case).

Click on ‘OK’.
My output shows all the separate custom font layers stacked on top of each other:
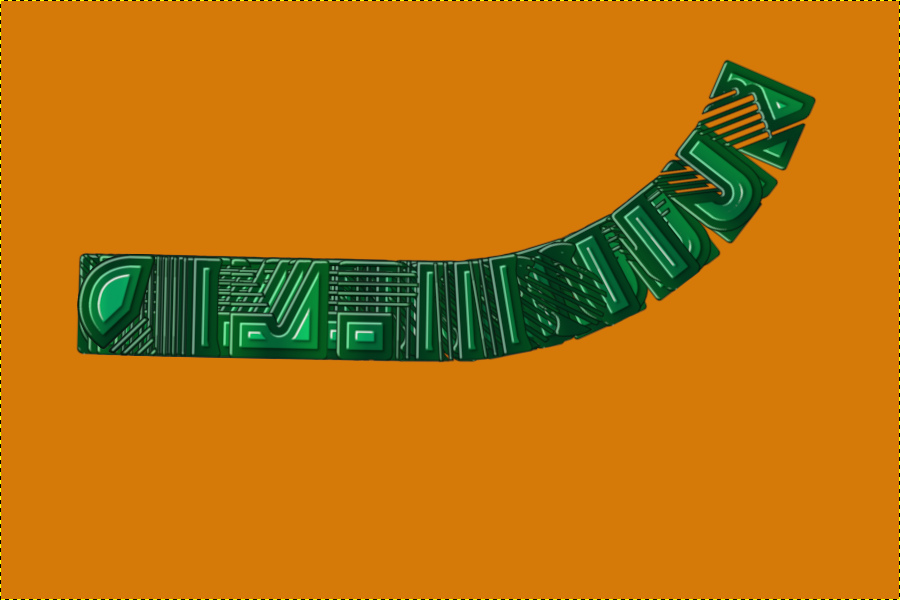
Now open the PreGiffer dialog, set the ‘Animation style’ to ‘One frame at a time’ and the ‘Add a final background layer’ to ‘No’. Click on ‘OK’.
Test out the animation generated to the new image with the Playback plug-in.

Have fun
 Login
Login Register
 Tweets
 FAQ
FAQ Advanced Search













 But I will get it)