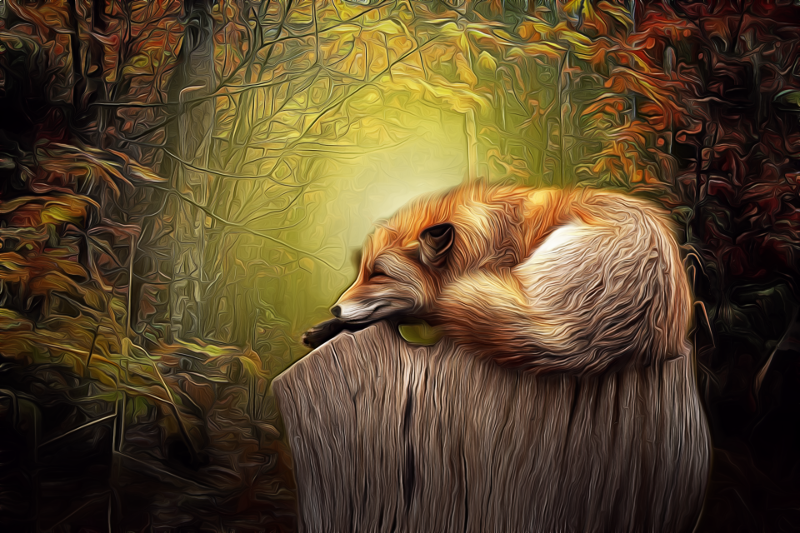
@Lyle: Thanks for the comment.
@racer-x: I don't have a "brushify" filter in my version of G'MIC. My version 1.6.3.1
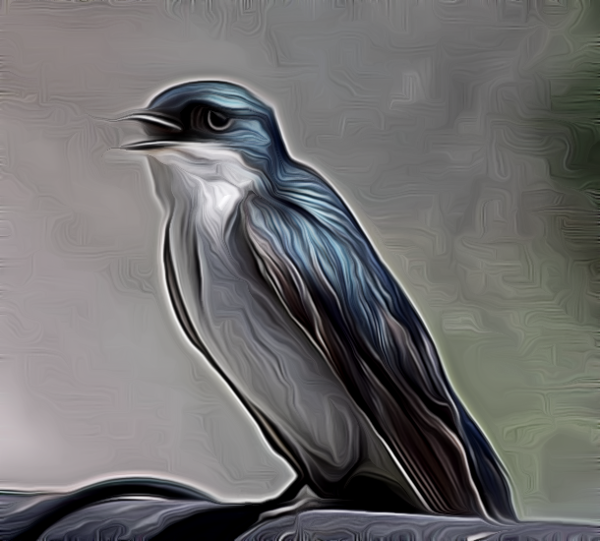
Also, I like your swallow. My technique is listed below by request from Serious Tom.
@Serious Tom: Here's my technique.
First Step Before G'MIC:
1. Filters/Enhance/Unsharp mask.
In G'MIC: New Layer. Put steps 2-5 all on this new layer.
2. Details/Freaky Details/Apply
3. ...then “sharpen deblur”/Apply
4. ...then “texture enhance”/Apply
5. ...then “dynamic range increase (bring up “detail strength" to suite your taste).
Click “OK.”
Note: The idea of steps 2-5 is to add grain to the image so that Dream Smooth has something to work with.
6. Right click the layer and click on "New from visible" to put all the visible layers into one new layer. Then Apply “Dream Smooth” to this new layer.
Bring “iterations” down to “1,” all other settings are
default settings.
7. Use G'mic again and go to Light & Shadows/Dodge & Burn/Click “OK.”
After "Dream Smooth," Make a "visible" layer.
Make a duplicate layer of step 1 and put it under the "visible" layer.
Go back to the "visible" layer and add a white "layer mask."
Use a soft brush and reduce the opacity of the brush to approx. 30%.
Use the brush to bring back the details of the face that are too blurred by the Dream Smoothing.
That's about it. It took me a little under a year to fine tune all these steps. Let me see your results.
I hope all this makes sense. Did the best I could. It's kind of complicated.
Here's a tutorial video that should help.
http://www.mediafire.com/file/4cx5kkp58 ... l.mp4/file@racer-x: I'd like to see what your swallow would look like if you did it with these steps. Just a thought. Also, I would like to see what this swallow would look like with "brushify."
 Login
Login Register
 Tweets
 FAQ
FAQ Advanced Search