It is currently Thu Nov 19, 2026 7:23 pm


All times are UTC - 5 hours [ DST ]


Post new topic Reply to topic  [ 35 posts ]  Go to page 1, 2  Next
Author Message
 Post subject: A view into the heart of chaos.
PostPosted: Thu Dec 29, 2016 8:33 am  (#1) 
Offline
GimpChat Member
User avatar

Joined: Sep 24, 2010
Posts: 12863
Yup; still on this binge. lolol

:)

https://www.flickr.com/photos/34520999@ ... 1/sizes/o/

Image

_________________
Lyle

Psalm 109:8

Image


Share on Facebook Share on Twitter Share on Orkut Share on Digg Share on MySpace Share on Delicious Share on Technorati
Top
 Post subject: Re: A view into the heart of chaos.
PostPosted: Thu Dec 29, 2016 9:56 am  (#2) 
Offline
GimpChat Member
User avatar

Joined: Jun 06, 2016
Posts: 1033
Nice small hearts in the tendrils Lyle!
Still trying to get a "bloom" like in the Phoenix
to add into the script. haven't found it yet.
Here are a couple samples with no edits just as scripted.


Attachments:
guitar wrist.jpg
guitar wrist.jpg [ 552.51 KiB | Viewed 5297 times ]
100wattclear.jpg
100wattclear.jpg [ 381.16 KiB | Viewed 5297 times ]
Top
 Post subject: Re: A view into the heart of chaos.
PostPosted: Thu Dec 29, 2016 10:51 am  (#3) 
Offline
GimpChat Member
User avatar

Joined: Mar 01, 2014
Posts: 14255
Location: Spain, Aragón
Those effects are amazing! Well done!. :bump

_________________
Image

Gimp 2.10.36 (samj) portable _ OS Windows 10 Home_ 64bits
Don’t be afraid to start over. It’s a new chance to rebuild what you want.


Top
 Post subject: Re: A view into the heart of chaos.
PostPosted: Thu Dec 29, 2016 2:55 pm  (#4) 
Offline
GimpChat Member
User avatar

Joined: Sep 24, 2010
Posts: 12863
Still looks pretty cool, Brian.

To get the bloom effect (if I'm interpreting your request correctly), you need to extract your target (background transparent) then run Solidify. The gradient transitions from solidify gives you the bloom effect once your run make squiggley. :) :)

_________________
Lyle

Psalm 109:8

Image


Top
 Post subject: Re: A view into the heart of chaos.
PostPosted: Thu Dec 29, 2016 3:11 pm  (#5) 
Offline
GimpChat Member
User avatar

Joined: Jun 06, 2016
Posts: 1033
You have interpreted exactly!
I do have the background extracted and also try to make
sure no edges from the extracted portion are in the picture.
(maybe some more edges should be added?).


the running solidify at various settings (using gmic and the preview)
then running the squiggly -- just not getting the amount of
squiggle that you are getting. Am brightening and that
will bring a bit more into view. Is there anything special
that has been missed? I have tried iso, delau, and edge
all with various settings... have not found it yet...
Other than that, the script is nearly done.
By the way, I had no experience with any
'graphics' software until about 6-8 months ago,
so it is probably good to 'hit the wall' for a while
in figuring it out)
Thank you for any suggestion!


Top
 Post subject: Re: A view into the heart of chaos.
PostPosted: Thu Dec 29, 2016 3:54 pm  (#6) 
Offline
GimpChat Member
User avatar

Joined: Sep 24, 2010
Posts: 12863
For what it's worth, here are my settings for make squiggley (it's a custom setting by the way), Brian. Again, increase segmentation slider for broader (more significant but shorter amount) of squiggles. Also, as I mentioned before, run Morphological preset to squeeze the squiggles narrower. :)


Attachments:
Clipboard01.png
Clipboard01.png [ 262.12 KiB | Viewed 5245 times ]

_________________
Lyle

Psalm 109:8

Image
Top
 Post subject: Re: A view into the heart of chaos.
PostPosted: Thu Dec 29, 2016 4:21 pm  (#7) 
Offline
GimpChat Member
User avatar

Joined: Jun 06, 2016
Posts: 1033
Thank you for the direction Lyle!
(nice cactus blooms also)


Top
 Post subject: Re: A view into the heart of chaos.
PostPosted: Thu Dec 29, 2016 11:55 pm  (#8) 
Offline
GimpChat Member
User avatar

Joined: Sep 24, 2010
Posts: 12863
I'm happy with my Christmas cactus blooms too. 4 blossoms are completely out now (one white; rest pink like shown in my other thread). Unfortunately, in a few weeks, they will all be gone then I'll have to wait yet another year to see them again. :)

_________________
Lyle

Psalm 109:8

Image


Top
 Post subject: Re: A view into the heart of chaos.
PostPosted: Mon Jan 02, 2017 9:54 am  (#9) 
Offline
GimpChat Member
User avatar

Joined: Jun 06, 2016
Posts: 1033
Soon the script will be finished.
I can't get close to Lyle's outcomes.
Still, it will produce some nice results.


Attachments:
ballerina-1593882_1280_N,iso2,80.0,0,1.3,6.0,6.0,0.9,5.0,2.0,Y,Y,4.0,N,Y,Plasomatic.jpg
ballerina-1593882_1280_N,iso2,80.0,0,1.3,6.0,6.0,0.9,5.0,2.0,Y,Y,4.0,N,Y,Plasomatic.jpg [ 181.68 KiB | Viewed 5119 times ]
Top
 Post subject: Re: A view into the heart of chaos.
PostPosted: Mon Jan 02, 2017 9:56 am  (#10) 
Offline
GimpChat Member
User avatar

Joined: Jun 06, 2016
Posts: 1033
And a couple more.


Attachments:
coral-plant-1581457_1920_None,iso5,60.0,Y,1.1,8.0,6.0,N,0.4,9.7,1.0,Y,Y,4.0,N,Y,Plasomatic.jpg
coral-plant-1581457_1920_None,iso5,60.0,Y,1.1,8.0,6.0,N,0.4,9.7,1.0,Y,Y,4.0,N,Y,Plasomatic.jpg [ 519.31 KiB | Viewed 5119 times ]
shell.jpg
shell.jpg [ 387.92 KiB | Viewed 5119 times ]
Top
 Post subject: Re: A view into the heart of chaos.
PostPosted: Mon Jan 02, 2017 12:39 pm  (#11) 
Offline
GimpChat Member
User avatar

Joined: Jan 20, 2013
Posts: 14835
Location: roma, italy
Excellent outcomes, animicule!

_________________
"Where am I ?"


Top
 Post subject: Re: A view into the heart of chaos.
PostPosted: Mon Jan 02, 2017 4:27 pm  (#12) 
Offline
GimpChat Member
User avatar

Joined: Mar 01, 2014
Posts: 14255
Location: Spain, Aragón
I agree with Dinasset, this effect is really beautiful and you animicule are getting it in perfection. :hi5

_________________
Image

Gimp 2.10.36 (samj) portable _ OS Windows 10 Home_ 64bits
Don’t be afraid to start over. It’s a new chance to rebuild what you want.


Top
 Post subject: Re: A view into the heart of chaos.
PostPosted: Tue Jan 03, 2017 10:02 am  (#13) 
Offline
GimpChat Member
User avatar

Joined: Jun 06, 2016
Posts: 1033
Final example, need to write instructions and remember to
load the the thumbdrive tomorrow!
Did some editing on this one with the layers provided in the outcome.


Attachments:
flower-1637424_1920_BA_PlasmaticV1bN,del2,60.0,0,3.3,5.3,3.0,20.0,0.5,2.0,N,Y,N,Y.jpg
flower-1637424_1920_BA_PlasmaticV1bN,del2,60.0,0,3.3,5.3,3.0,20.0,0.5,2.0,N,Y,N,Y.jpg [ 690.37 KiB | Viewed 2221 times ]
Top
 Post subject: Re: A view into the heart of chaos.
PostPosted: Tue Jan 03, 2017 10:48 am  (#14) 
Offline
GimpChat Member
User avatar

Joined: Mar 01, 2014
Posts: 14255
Location: Spain, Aragón
amazing result, animicule. :bigthup

_________________
Image

Gimp 2.10.36 (samj) portable _ OS Windows 10 Home_ 64bits
Don’t be afraid to start over. It’s a new chance to rebuild what you want.


Top
 Post subject: Re: A view into the heart of chaos.
PostPosted: Fri Jan 06, 2017 9:56 am  (#15) 
Offline
GimpChat Member
User avatar

Joined: Jun 06, 2016
Posts: 1033
*** Script requires G'MIC for GIMP version 1.79 ****
--- an apology -- I haven't been able to make output
like Lyle's as of yet. There will be another attempt though
I do believe that it will take a while to find the key.

First off,
This script will produce an output of layers which
will need to be 'played' with to obtain an acceptable
result. Once in a while the default result will be nice.

A color or black and white subject which has been extracted
from its background has advantage of an extra layer created
which can add 'background' intensity.
Regular image will work but choose None for the solidify option
to speed things up. Also if you do not choose None, you will
receive a transparent layer for the 'background intensity layer'.

Sometimes nice to use brightness/contrast to lighten subject
and change the contrast.

With an extracted subject, first choose a solidify option.
It will fill the transparent areas, different options will
give variations.

You may select to de-saturate both the
object and highlight layers or either of them, or none.

Choose a scale percentage and the program will scale the original
up or down to start with. The final outcome will be returned to the
original dimensions. The process will create Highlight result layer
and then will scale the image up and create an 'Object' result layer

The plasma lines may be controlled with the Noise Spread parameters
(one each for Highlight and Object).
Same with the length with Segmentation parameters.
The Line Width may be decreased with the width parameter.
You will need to play with these parameters. They do not
always give an acceptable result. I run the filter the first
time just to look to see. If the Highlight layer or the Object layer outcome
are mottled or mostly black perhaps with some artifacts,
the Line Width setting should be decreased.

There is a control for upscale 1x or 2x (each upscale is approx 150 percent),
before creating the subject layer, and when the outcome is scaled
back to the original size, it will 'tighten' the pattern. If you have
receive good results on an image at one of these setting and then
run again with the other, you will probably need to adjust the line width.

If you have an 'extracted' image with a transparent background,
the Enhance BG toggle will extract the subject from the layer and
intensify it, producing an outcome layer set to 5% opacity which may be raised
to your taste to brighten the 'background'
To play, sometimes use the color select tool on the black between the lines
and then delete it. The lines will stand out more.

There is also a object layer intensity which will affect the object layer only.
Again if the lines are not clear or the layer is all black the Line Width decrease
needs to be moved lower (lower = less squeezing the lines, higher is more squeeze)

There is a Map Color gradient option to try.

You can choose to have the original subject properly scaled and positioned on
on the top of the stack.

The purpose of this script is to make layers quickly so that you may
use 'Layer Play' to finesse your final outcome.

When learning this flow, it may be best to start with
smaller subjects maybe 800 to 1900 in width.
It may take a while to run.

I make a 1st run, quickly inspect the object layers for line clarity while
turning them off to look at the highlight (bottom 2) layers to verify
the line width is good and clear, then make adjustments and run again.
When the highlights are fine I do the same for the object layer.

Some times I will use an extracted subject, add a transparent layer below it,
add a color and noise to the transparent layer, then use blur on it. Then
merge it with the subject, before running the filter with None for solidify type.

Some times I select the add subject option and during layer play,
move the subject layer just above the bottom 'pad color' layer and
set its mode to Normal or Screen

When I would like to see a coarser (not so fine) 'plasma'
I pick a smaller percentage for the down scale and
NO to 2x upscale. This should give you a coarser 'plasma'

Pat625 if you try this on your floral dragonfly (the pastel one)
the defaults seem to work very well on that one!

The settings of the filter will be shown on 'named' layer.
I copy the 'named' layer attributes and paste it into the file
export for the file name. The settings can be repeated by
entering them into the selection menu, from top down.
iso5,40.0,0,2.0,4.8,4.0,7.0,10.0,10.0,2.0,N,N,N,Y


Last edited by animicule on Wed Jan 11, 2017 12:35 pm, edited 7 times in total.

Top
 Post subject: Re: A view into the heart of chaos.
PostPosted: Fri Jan 06, 2017 10:10 am  (#16) 
Offline
GimpChat Member
User avatar

Joined: Jun 06, 2016
Posts: 1033
Here are some examples, with the string.
Maybe should have put _ between the R1N and the start of the string.
now it shows R1Niso1 or R1NNone where the string starts with the solidify option (4 letters).

String is
Solidify option (4letters), Scale Percent (00.0) , desat (0-3),
Highlight Noise Spread(0.0-20.0), Highlight Segmentation length(0.0-15.0), Highlight Width decrease(0-10)
Object Layer NoiseSpread(0.0-20),Object Layer Segmentation(0.0-15.0), Object Layer Line Width decrease(0-7),
Upscale Twice(Yes) or Once if No (Y/N), Intensity(0-20), Enhanced BG (Y/N), Map Color Gradient (Y/N),::: note, skips the color map colors :::
and lastly Add Subject Layer to Top(Y/N)


Attachments:
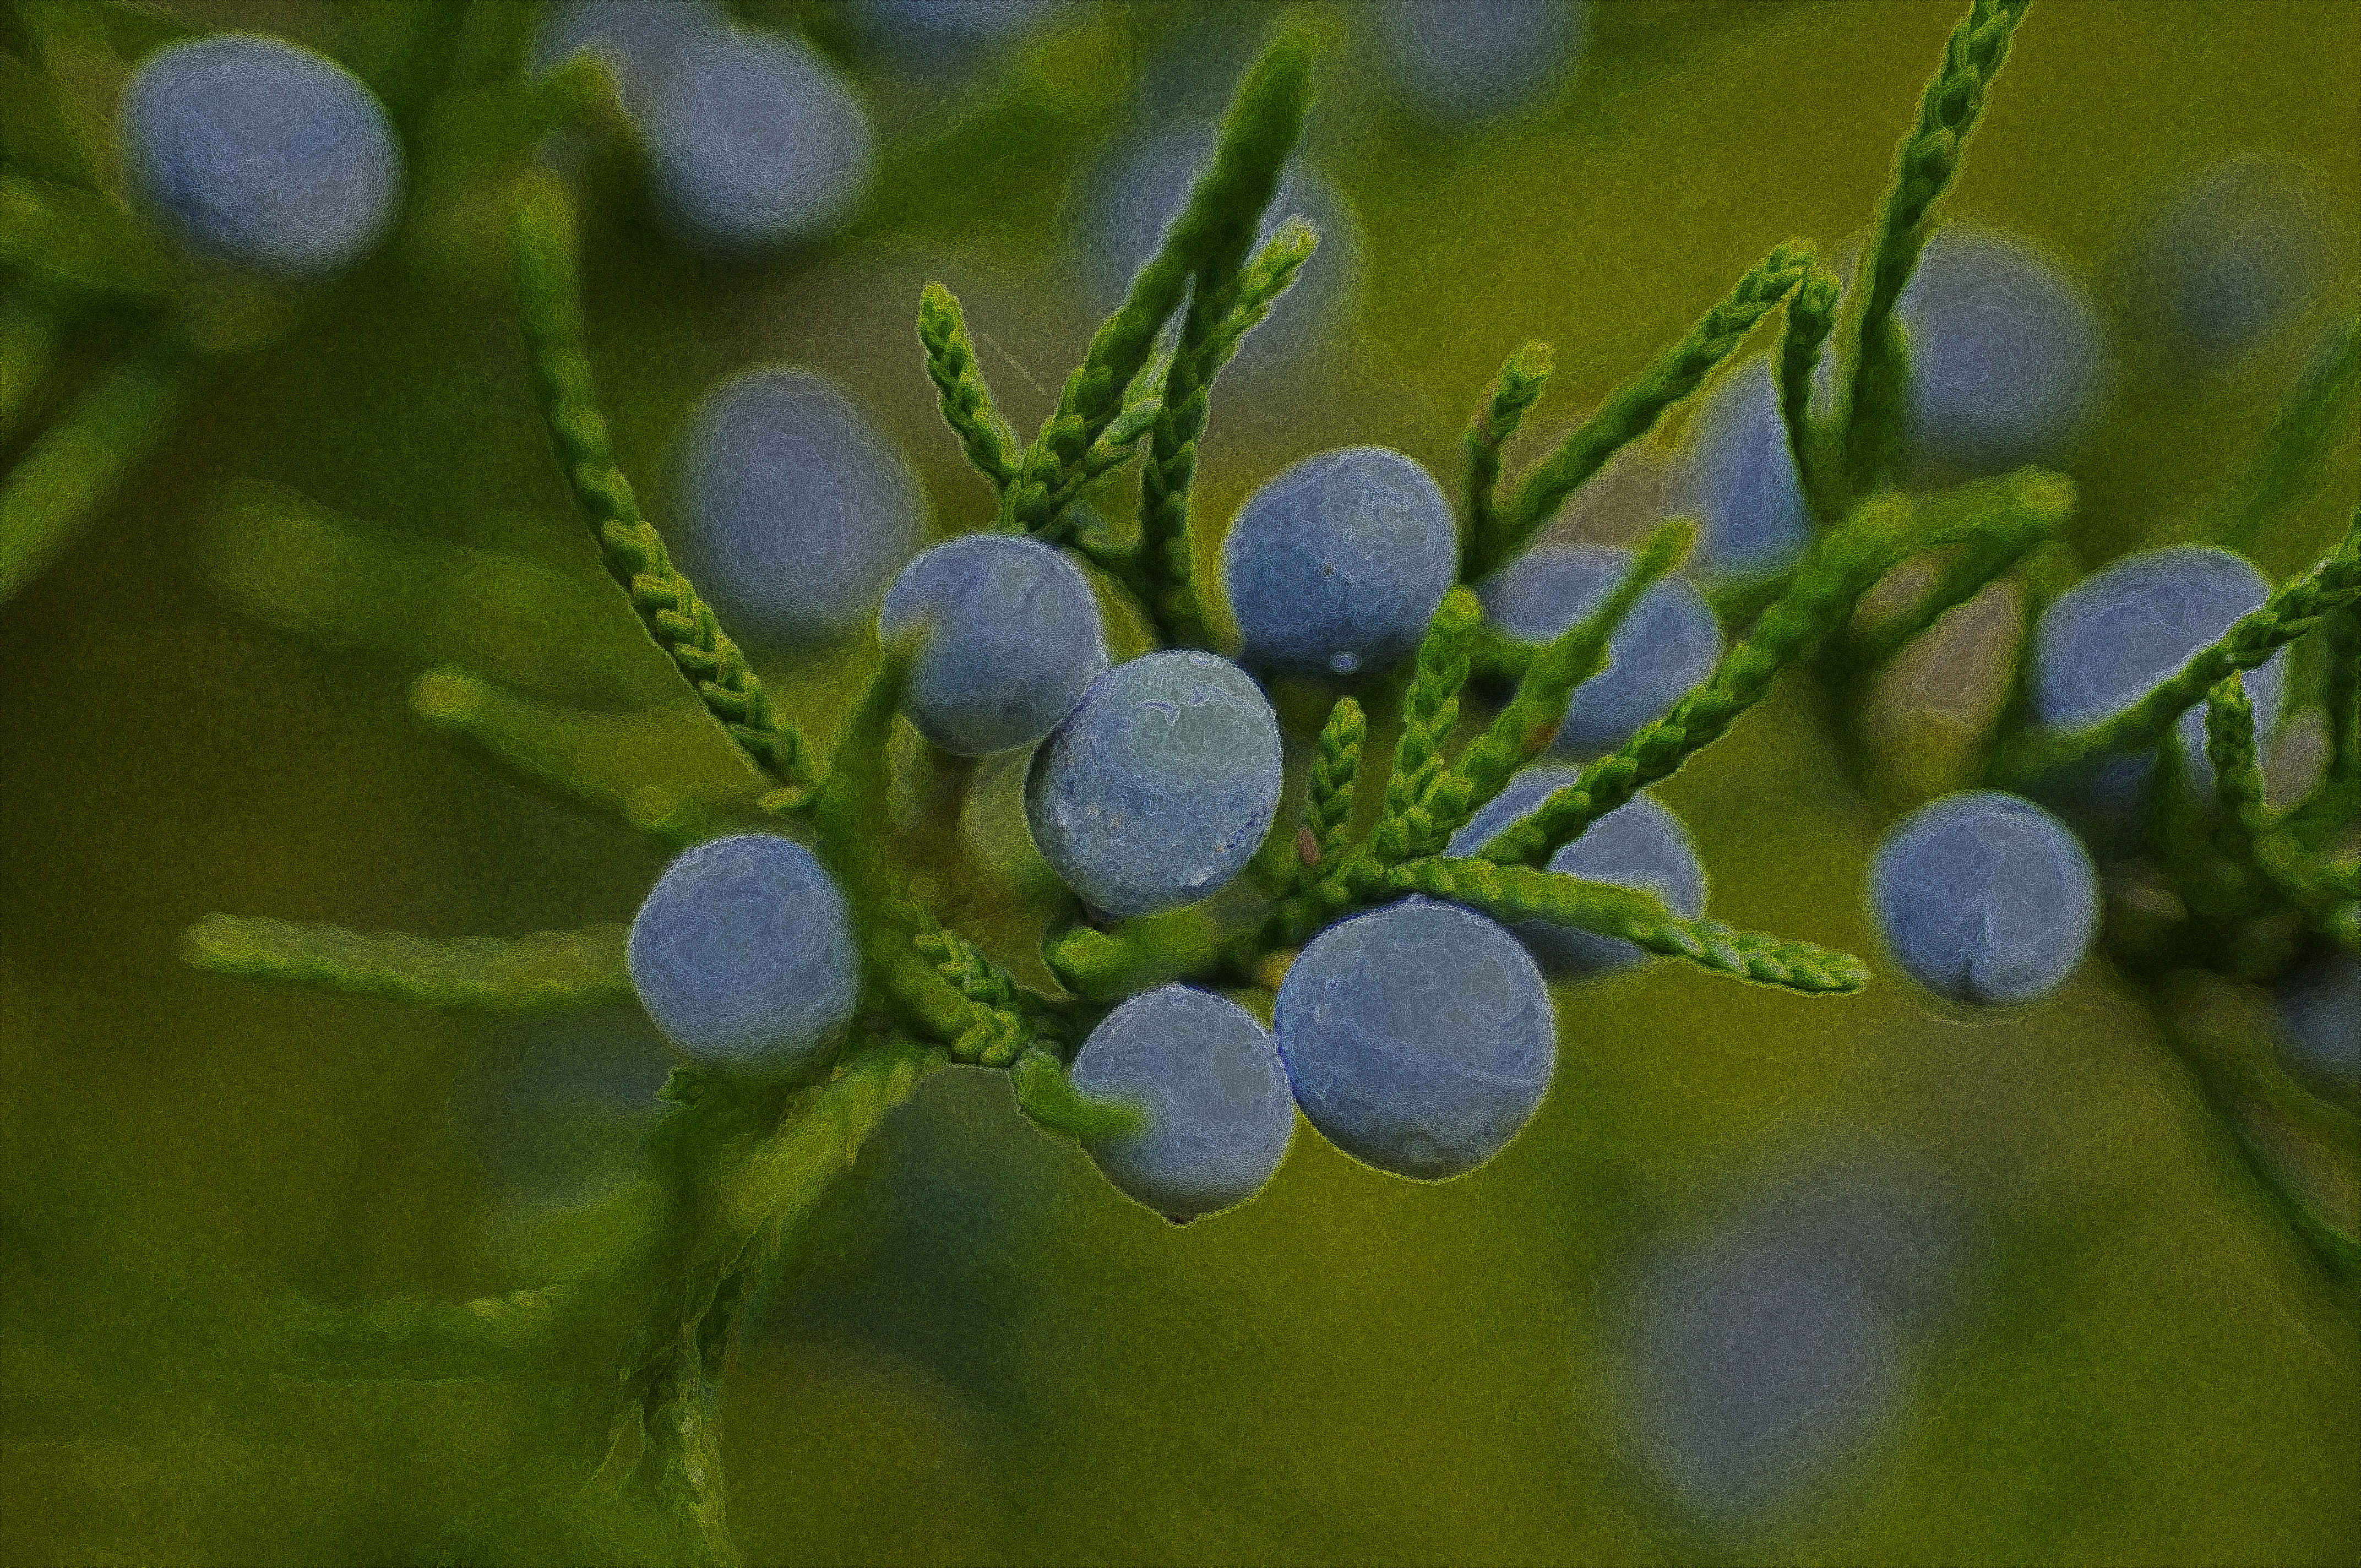
berries-blackberries-blueberries-fruit-62433_BA_PlasmaticR1N,iso5,40.0,0,2.0,4.8,7.0,7.0,10.0,10.0,2.0,Y,N,N,Y_subjectlayer_screenmode_above_padcolor.jpg
berries-blackberries-blueberries-fruit-62433_BA_PlasmaticR1N,iso5,40.0,0,2.0,4.8,7.0,7.0,10.0,10.0,2.0,Y,N,N,Y_subjectlayer_screenmode_above_padcolor.jpg [ 2.18 MiB | Viewed 2196 times ]
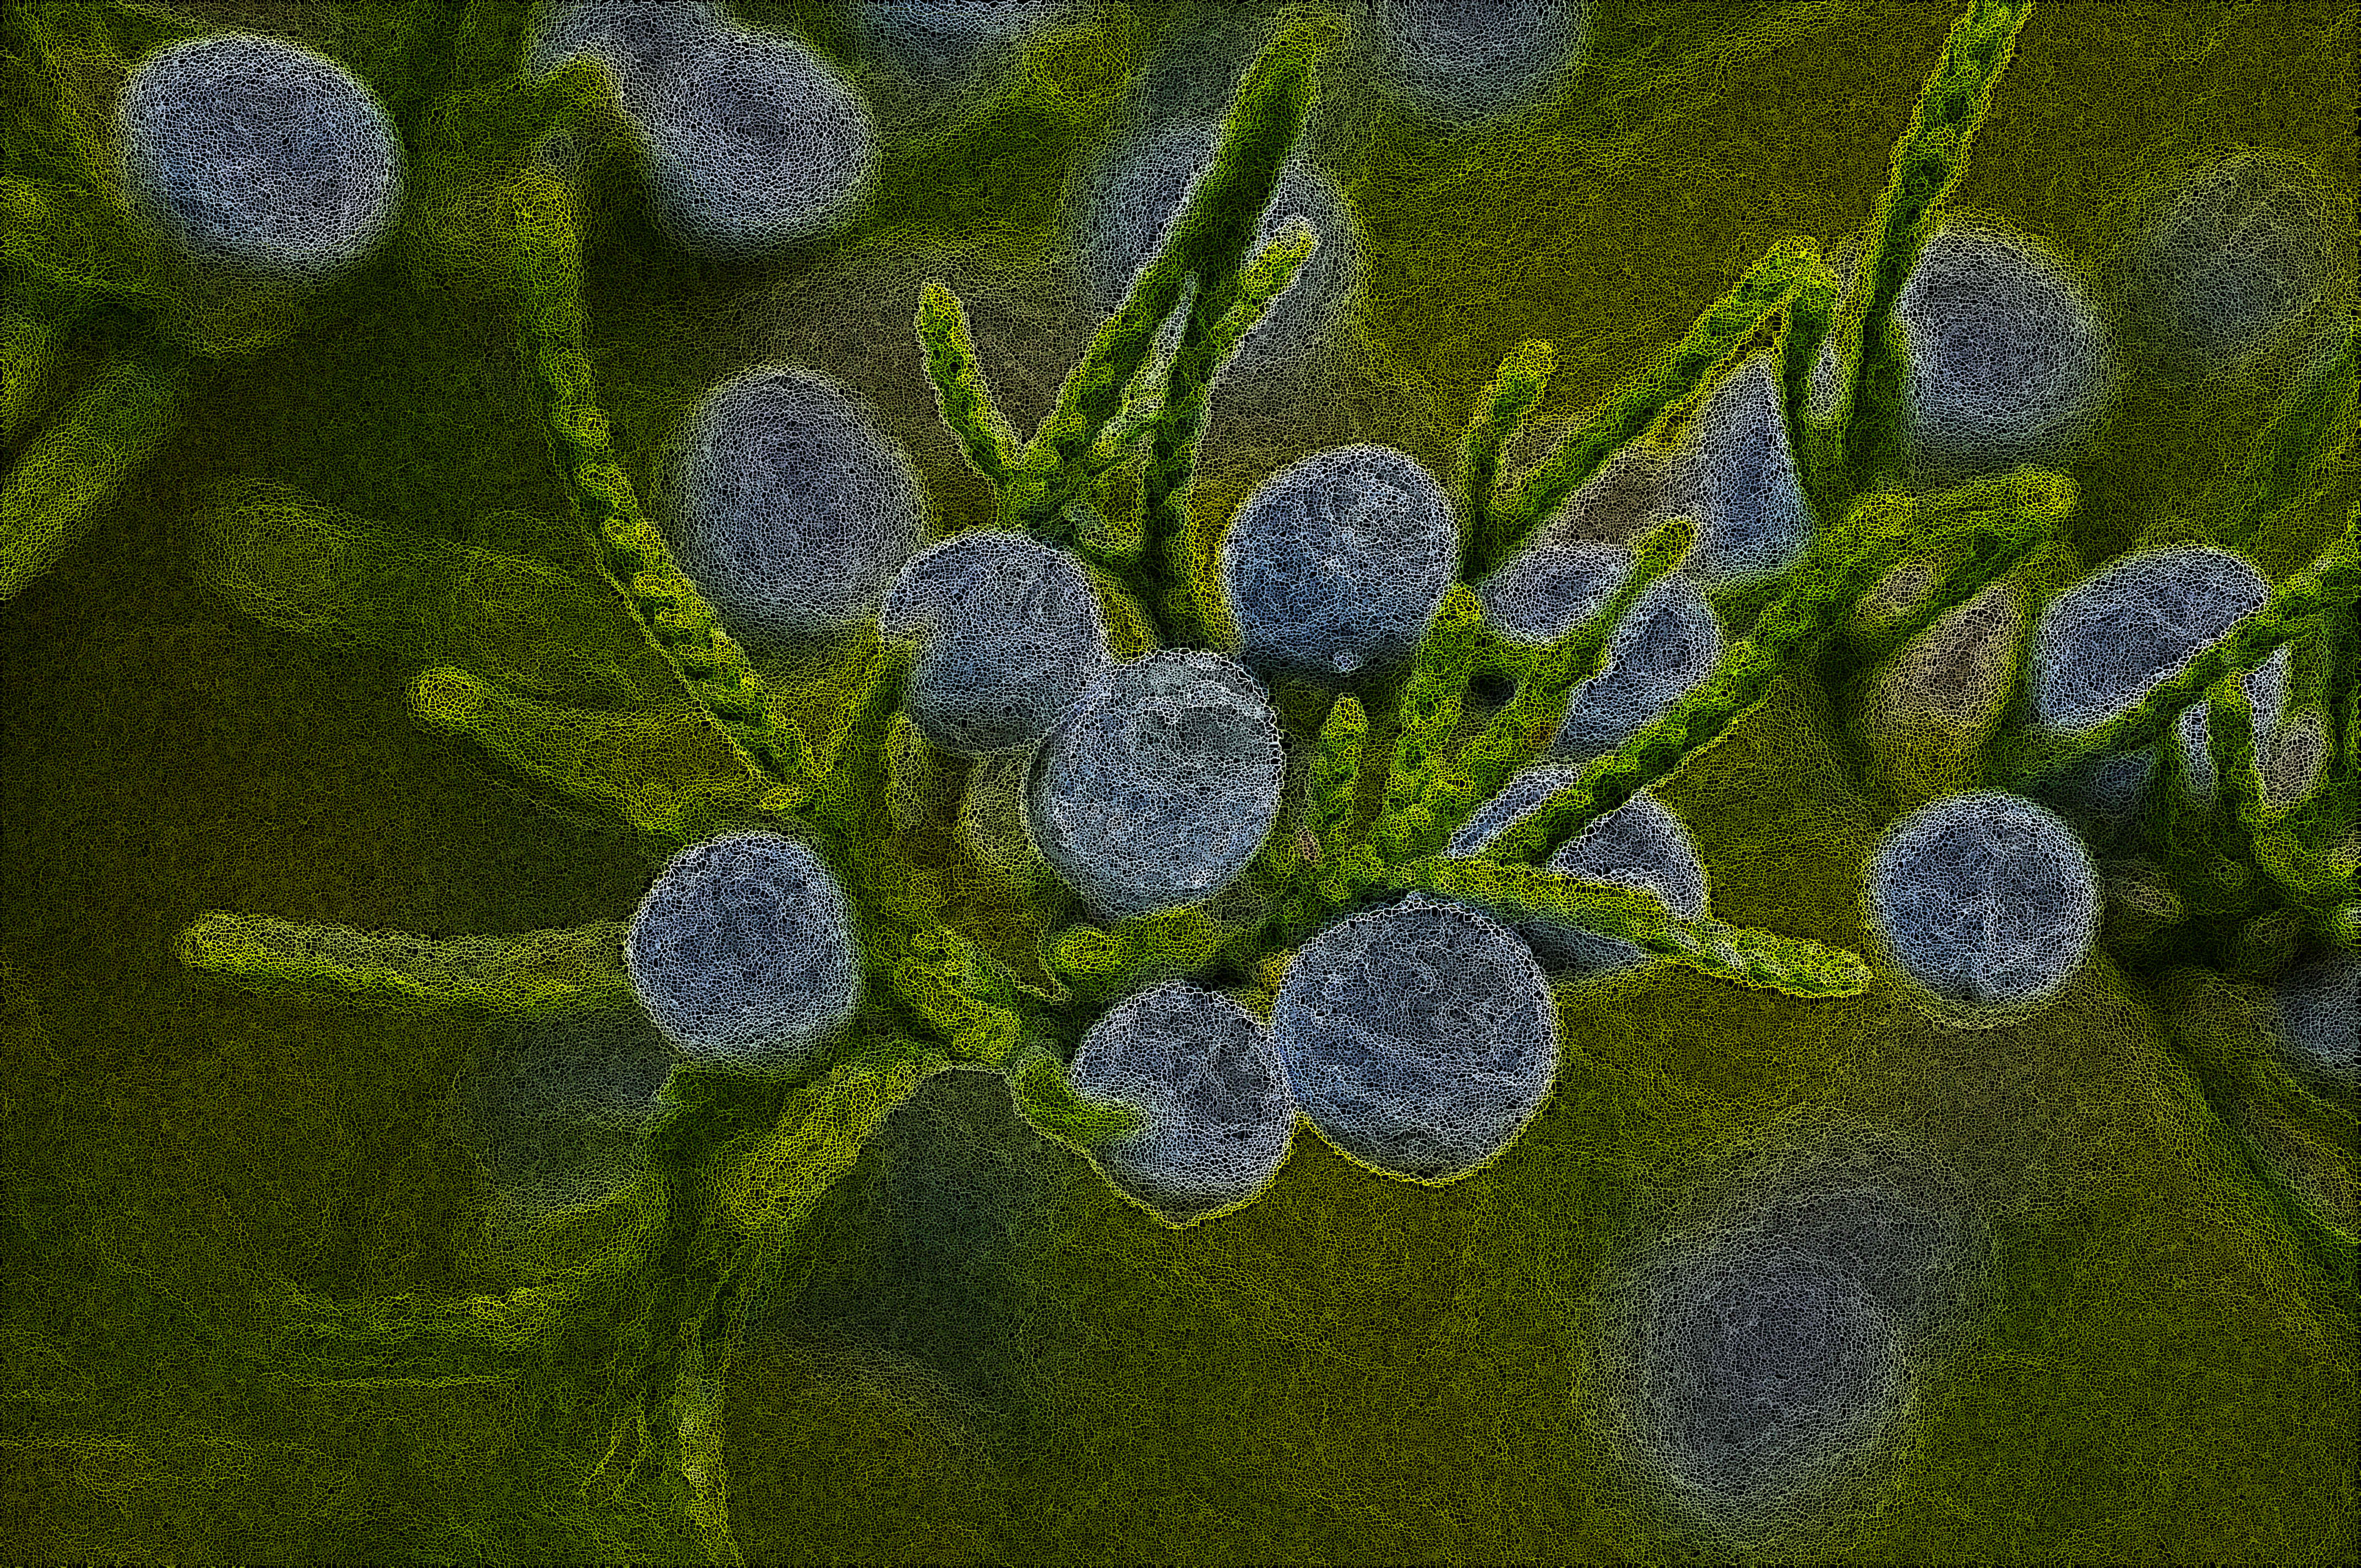
berries-blackberries-blueberries-fruit-62433_BA_PlasmaticR1N,iso5,40.0,0,2.0,4.8,4.0,7.0,10.0,10.0,2.0,N,N,N,Y_newfromvisible_duplicated totop screenmode.jpg
berries-blackberries-blueberries-fruit-62433_BA_PlasmaticR1N,iso5,40.0,0,2.0,4.8,4.0,7.0,10.0,10.0,2.0,N,N,N,Y_newfromvisible_duplicated totop screenmode.jpg [ 3.15 MiB | Viewed 2196 times ]
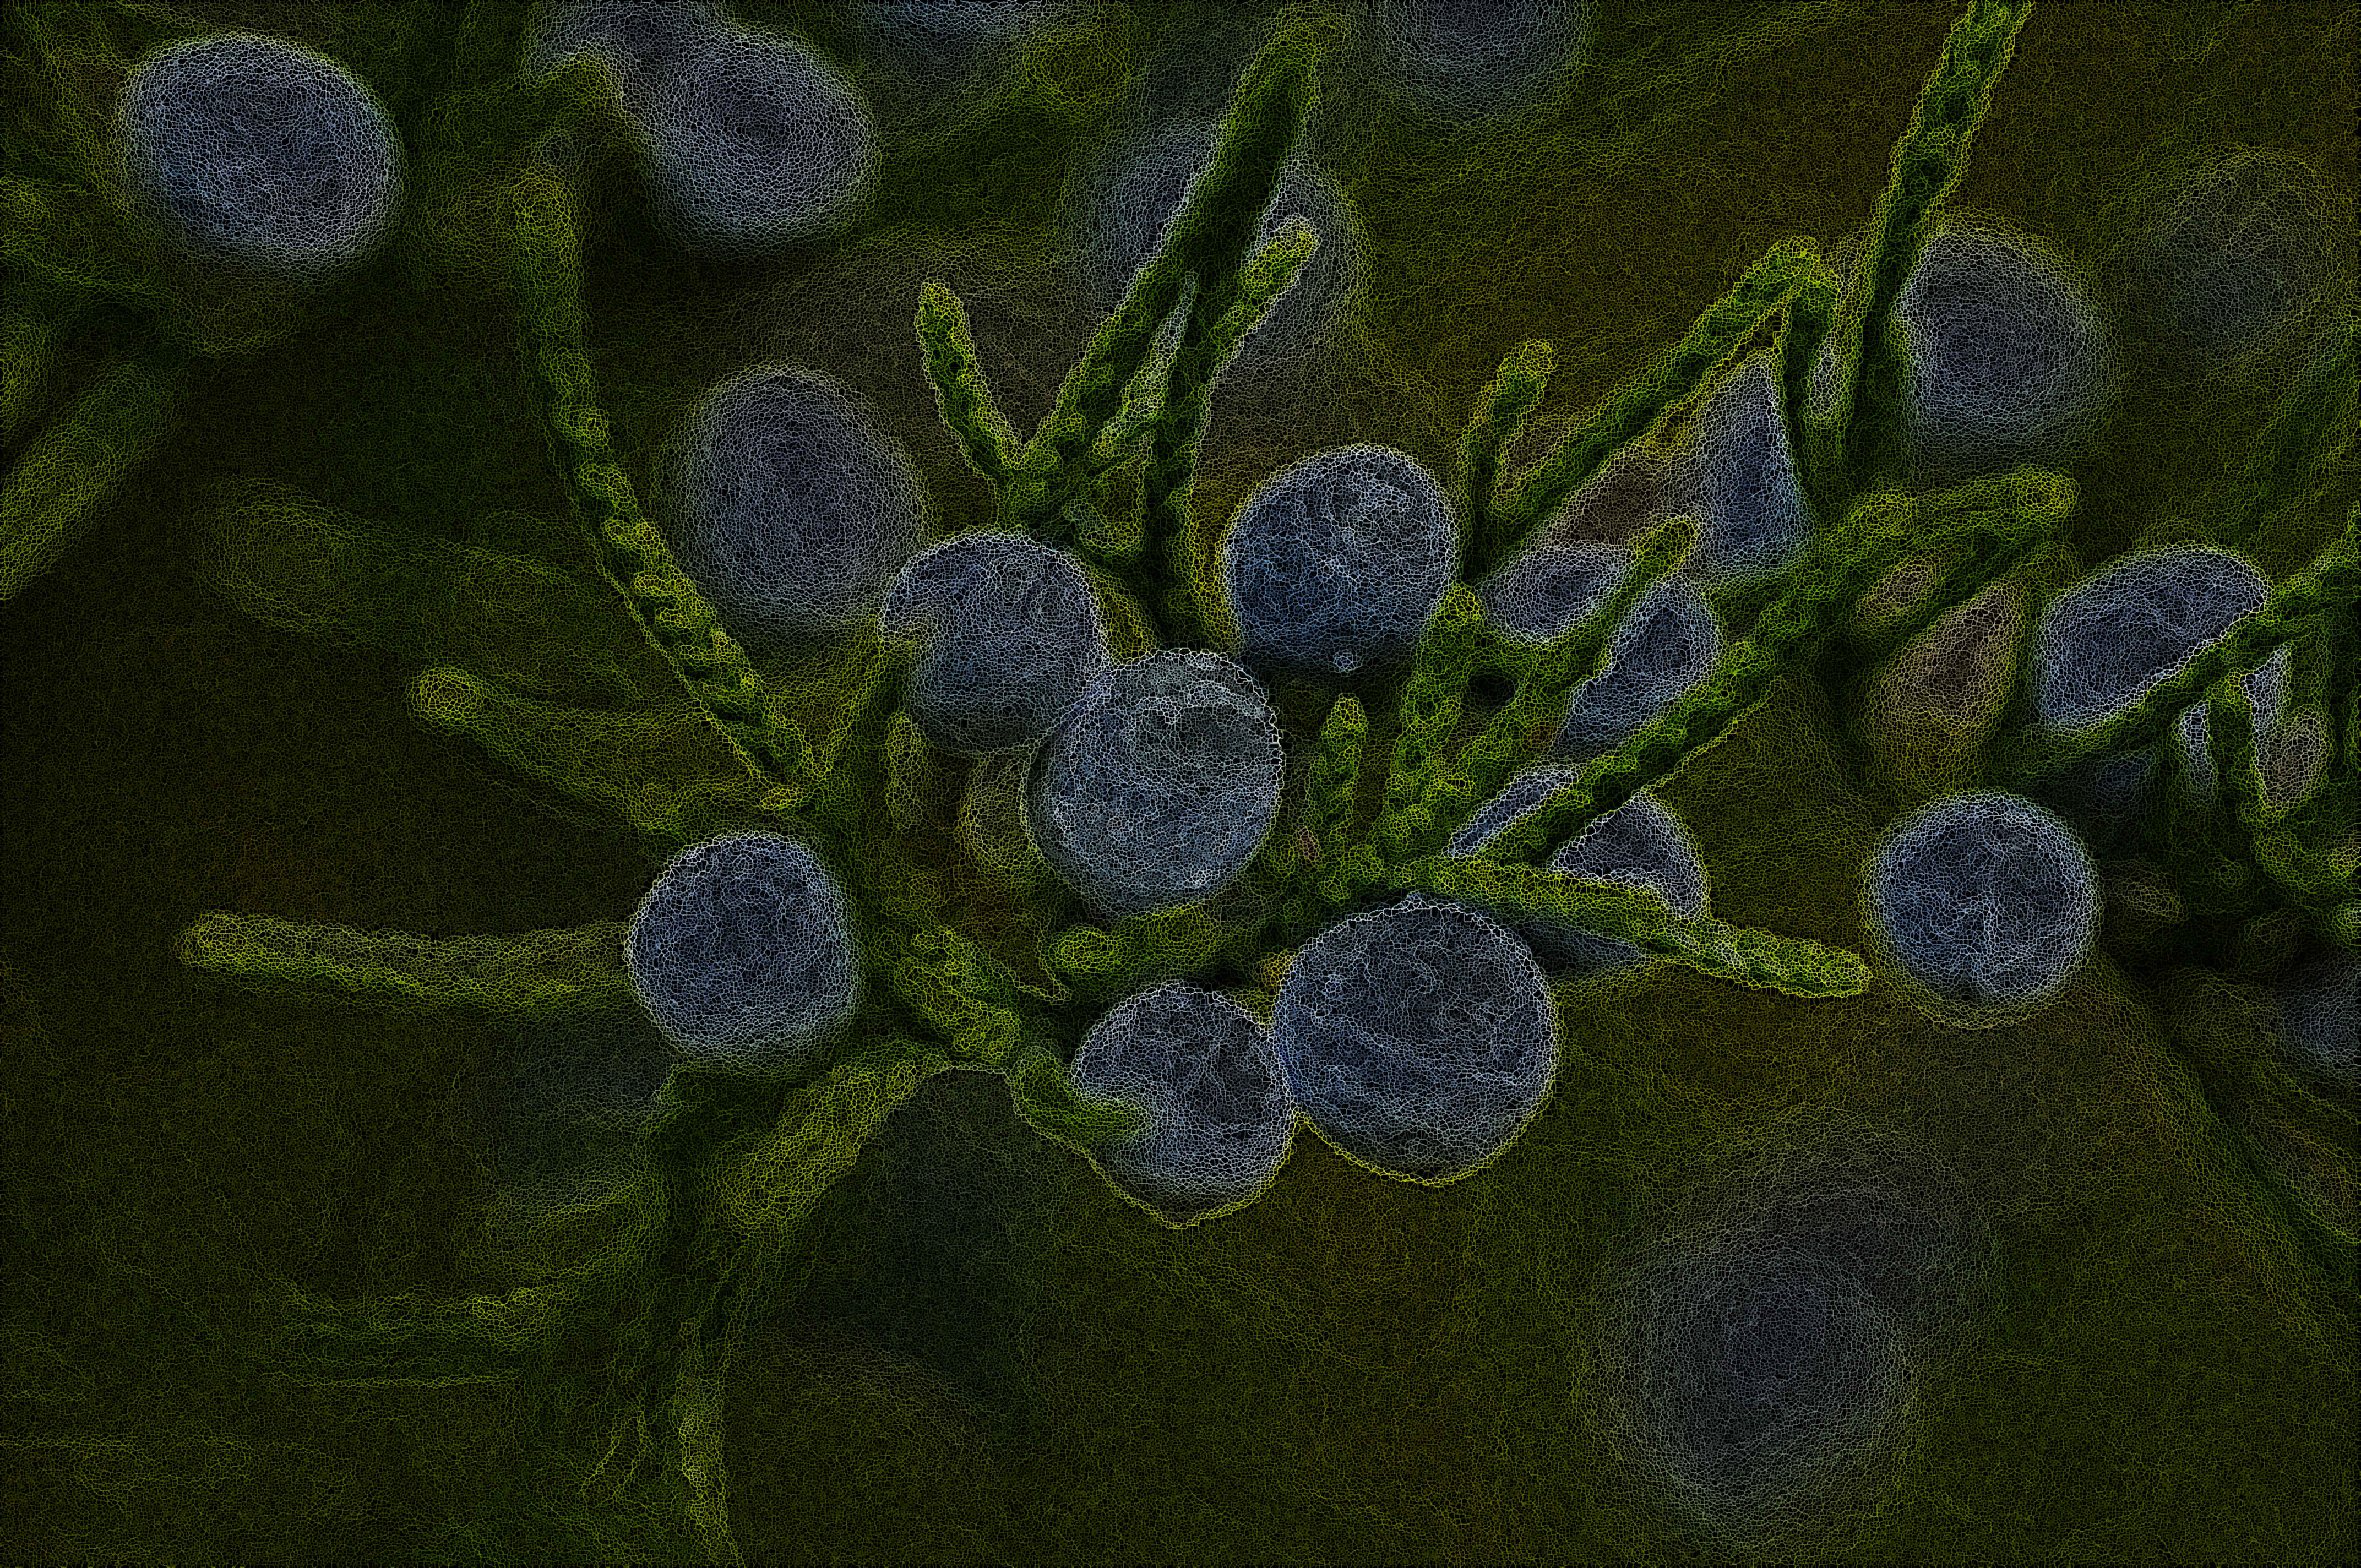
berries-blackberries-blueberries-fruit-62433_BA_PlasmaticR1N,iso5,40.0,0,2.0,4.8,4.0,7.0,10.0,10.0,2.0,N,N,N,Y.jpg
berries-blackberries-blueberries-fruit-62433_BA_PlasmaticR1N,iso5,40.0,0,2.0,4.8,4.0,7.0,10.0,10.0,2.0,N,N,N,Y.jpg [ 2.42 MiB | Viewed 2196 times ]
Top
 Post subject: Re: A view into the heart of chaos.
PostPosted: Fri Jan 06, 2017 1:30 pm  (#17) 
Offline
GimpChat Member
User avatar

Joined: Mar 01, 2014
Posts: 14255
Location: Spain, Aragón
Thank you so much for your new filter, animicule. Thanks for your explanation and advice before playing this filter. :) :bigthup
I tested it for a first try using default settings on both pictures and I'm happy with the result. :tyspin


Attachments:
RedFlower-1896999_1280_Bria_plasmic R1.jpg
RedFlower-1896999_1280_Bria_plasmic R1.jpg [ 246.56 KiB | Viewed 2186 times ]
Lilies_1680078_1280_Brian_plasmic R1.jpg
Lilies_1680078_1280_Brian_plasmic R1.jpg [ 281.42 KiB | Viewed 2186 times ]

_________________
Image

Gimp 2.10.36 (samj) portable _ OS Windows 10 Home_ 64bits
Don’t be afraid to start over. It’s a new chance to rebuild what you want.
Top
 Post subject: Re: A view into the heart of chaos.
PostPosted: Fri Jan 06, 2017 4:09 pm  (#18) 
Offline
GimpChat Member
User avatar

Joined: Mar 01, 2014
Posts: 14255
Location: Spain, Aragón
Applied some of your advice. Thanks animicule. :bigthup


Attachments:
RedFlower-1896999_1280_Brian_Plasmic R1_applied advice.jpg
RedFlower-1896999_1280_Brian_Plasmic R1_applied advice.jpg [ 344.74 KiB | Viewed 2174 times ]

_________________
Image

Gimp 2.10.36 (samj) portable _ OS Windows 10 Home_ 64bits
Don’t be afraid to start over. It’s a new chance to rebuild what you want.
Top
 Post subject: Re: A view into the heart of chaos.
PostPosted: Fri Jan 06, 2017 5:32 pm  (#19) 
Offline
GimpChat Member
User avatar

Joined: Jun 06, 2016
Posts: 1033
Issabella, try on one, (sorry I don't wish to sound bossy LOL)...
I just think you might like this play...
just quickly add alpha and erase everything outside of the
redflower, don't bother with being careful, just quickly
with big 200-300 eraser.
Then run again 2x - 1st time use default solidify and
set Percent to 60. Say NO to 2x upscale and
include options of Enhance and Subject Layer to Top.
2nd time change to iso5 option (or whichever ends in 5)
and all else the same.
Then you can click on the enhance background layer
(set to 5% as default) and move the opacity for intensity control
on this 'new' layer as well as the other 2 intensity controls.


Top
 Post subject: Re: A view into the heart of chaos.
PostPosted: Sat Jan 07, 2017 6:35 am  (#20) 
Offline
GimpChat Member
User avatar

Joined: Mar 01, 2014
Posts: 14255
Location: Spain, Aragón
Thank you so much animicule for your help. I'll try to apply what you say. :)

_________________
Image

Gimp 2.10.36 (samj) portable _ OS Windows 10 Home_ 64bits
Don’t be afraid to start over. It’s a new chance to rebuild what you want.


Top
Post new topic Reply to topic  [ 35 posts ]  Go to page 1, 2  Next

All times are UTC - 5 hours [ DST ]


cron

* Login  


Powered by phpBB3 © phpBB Group