A shout out for Tim (COME HOME SOON TIM) who developed the Wobble plug-in. Gimp needs his originality and creative skills.
There are some resources to accompany this post.
Attachment:
 Resources.zip [858.99 KiB]
Downloaded 112 times
Resources.zip [858.99 KiB]
Downloaded 112 times
A pdf copy of the tutorial:
Attachment:
 Wobble-Variation.pdf [2.25 MiB]
Downloaded 85 times
Wobble-Variation.pdf [2.25 MiB]
Downloaded 85 times
Sometimes it is desirable to introduce an element of randomness when creating images or parts of images and this is exactly the thing that the Wobble plug-in provides.
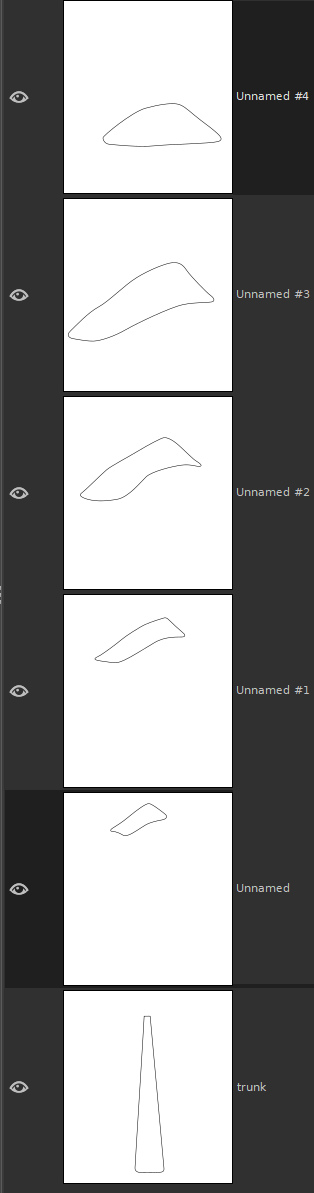
As an example, here are the set of six paths that I used to make a fir tree:

And their default names...
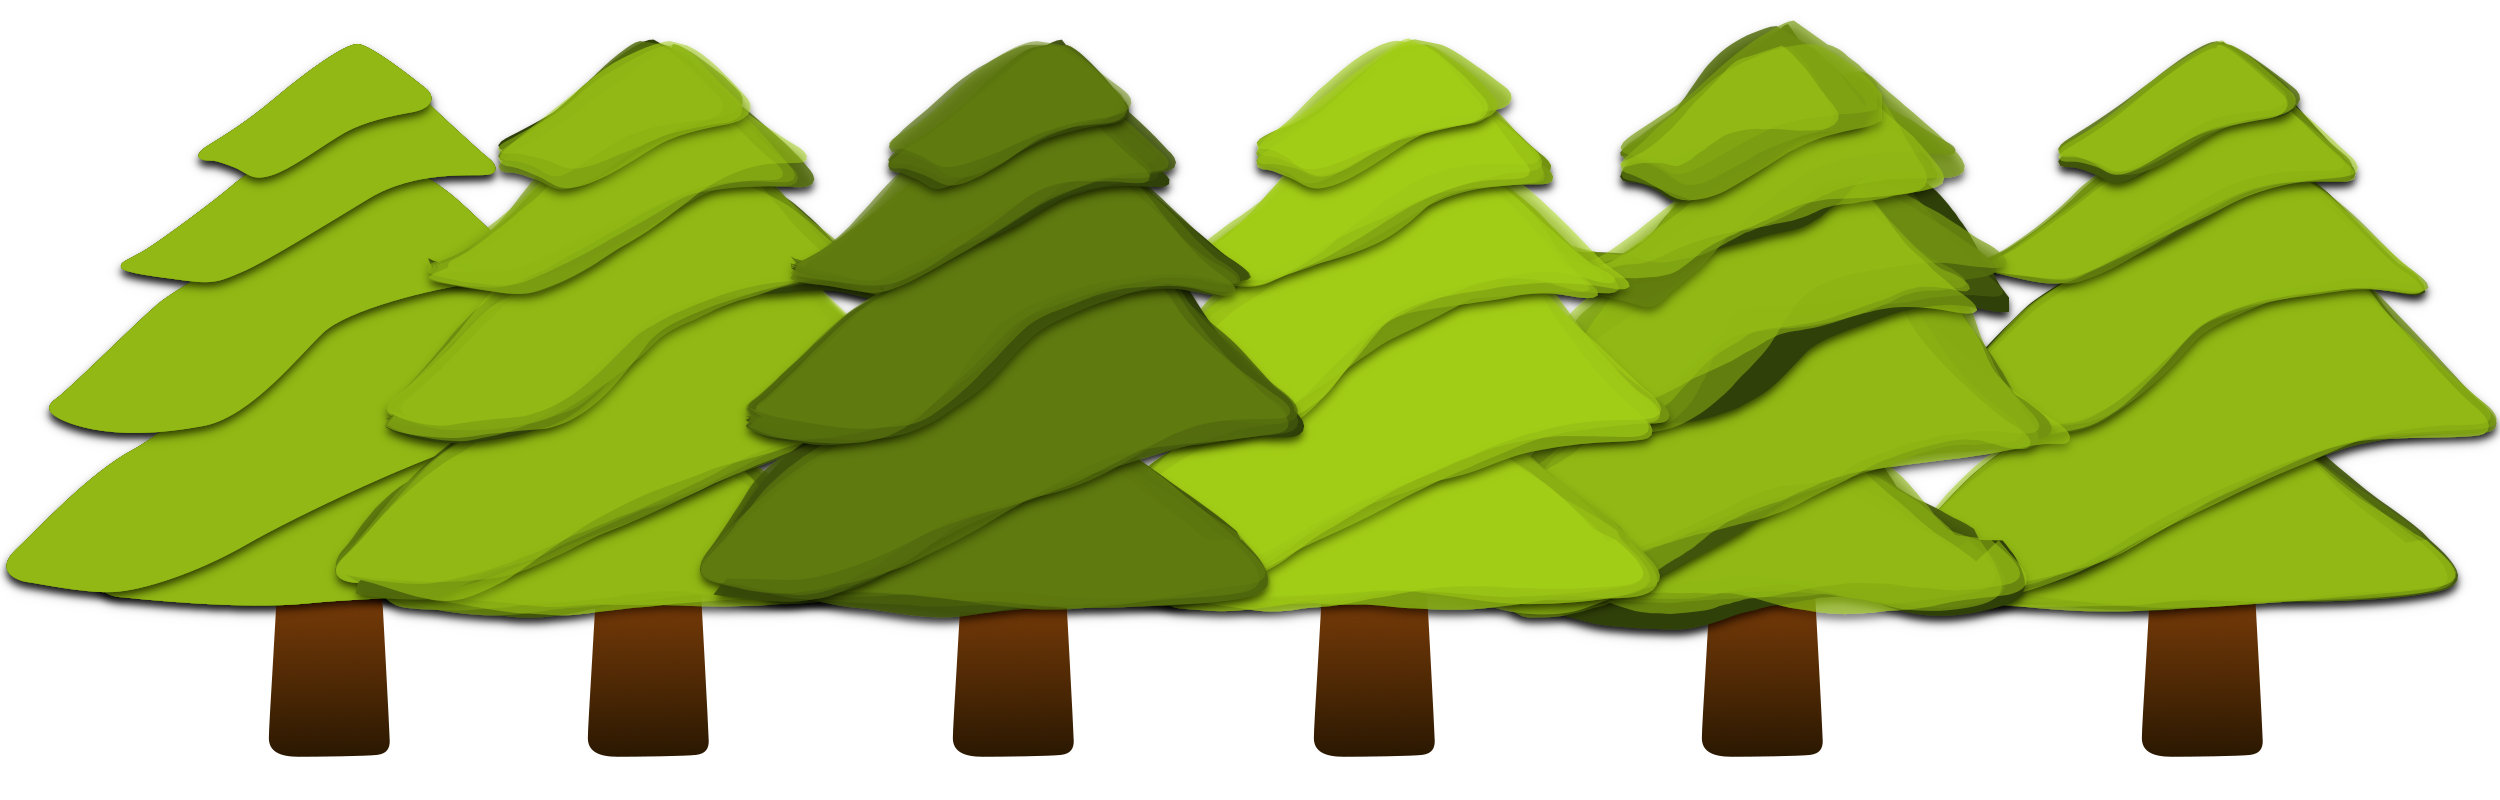
You can use each path in a number of ways using fill path from the edit menu or by turning each path into a selection and filling each region with colour or with the gradient tool such as in the example image below:

Without editing the paths, the only way to add variation is to fill with different colours. This is perfectly do-able if a little tedious.
You can use a few custom font plug-ins to create the variations shown below much more quickly and efficiently than by doing it manually:
1) Preparing the paths:
The first job to do is to change the path names so that the custom font plug-ins will work with the paths.
If you have more than a couple of paths to work with you can use the version of Custom Font Path Utilities from the Resources Folder to rename the paths as custom font paths.
Filters>>Custom Fonts>>Utility Tools>>Custom Font Path Utilities v0.06b
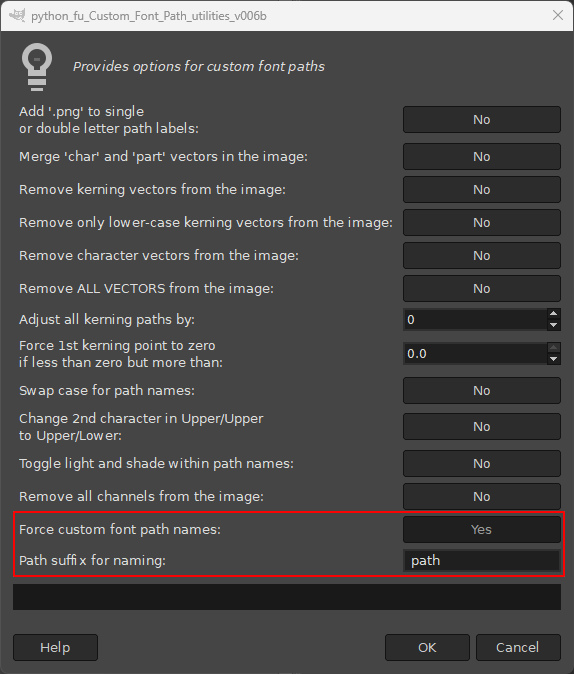
Use the default suffix and hit 'OK'.
The output below shows the new names displayed in the Path Tool dock:

Note: The last path has been renamed again because we do not want to apply custom font filters to this particular path.
2) Add variation with Custom Font Wobbler
Before applying the Wobbler plug-in select the colours that you want to apply to the paths that will used as the branches of the tree. Use the darker colour for the foreground colour.
Call up the plug-in:
Filters>>Custom Fonts>>Constructing Tools>>Custom Font Path Wobbler v0.2 Tabbed…
Increase the value for the number of paths to create on the first dialog tab and hit ‘OK’.

The initial output reflects the filters use as a custom font tool i.e. all layers have a defined margin and have been moved to the origin - and only one (custom font) layer is made visible. The tree trunk is not a custom font layer and so remains unaltered by the filter.

Make all the layers visible.

Reposition the layers with the Move tool:

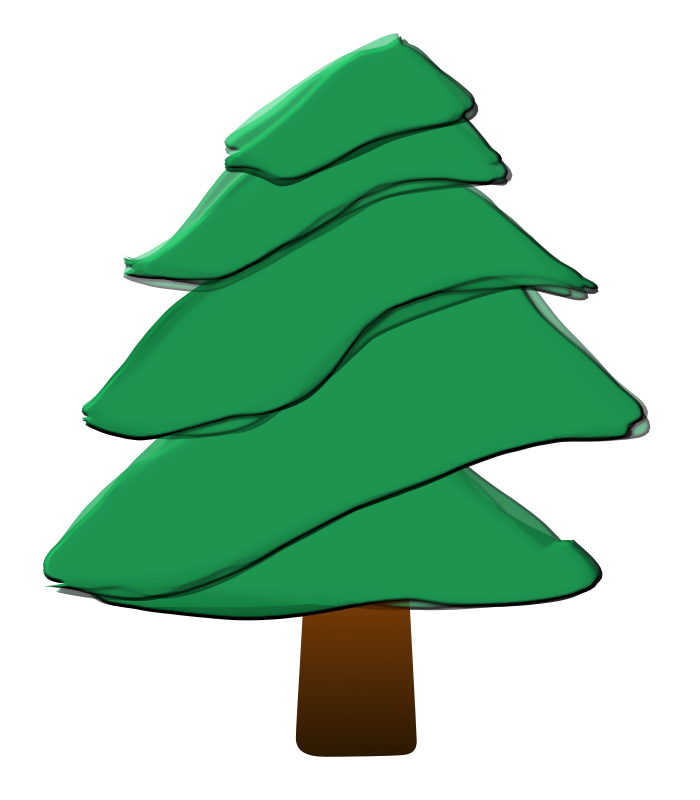
You may want to add a drop shadow to define the foliage a little more…

The images above used the default wobble factor value of 0.135 but we can increase this value to add more path variation.
Try using a value of 0.250…

Now with a value of 0.500…

You can also use the filter to skew the colours used within the current gradient to lighten or darken the tones of the foliage from the ‘Gradient options’ on the second tab of the dialog.
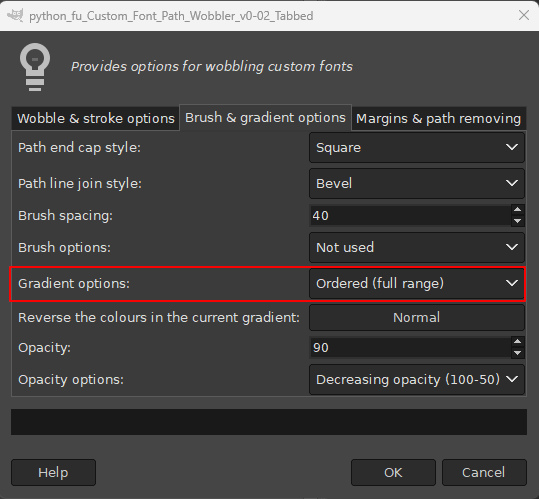
The default setting uses colours from the full range so use the ‘Ordered (1st half)’ option to restrict the colour palette to the darker range (the current colour range is dark to light).

Choosing ‘Ordered (2nd half)’ for the same option:

3) Using other custom font filters
You can also apply other filters but first, since many custom font filters force the layers to move back to the image origin, use Custom Font Layer Utils v1.36b to force the layers to the image size.
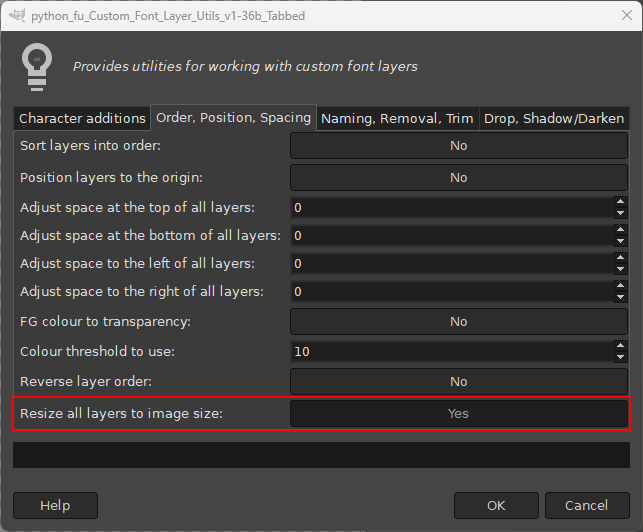
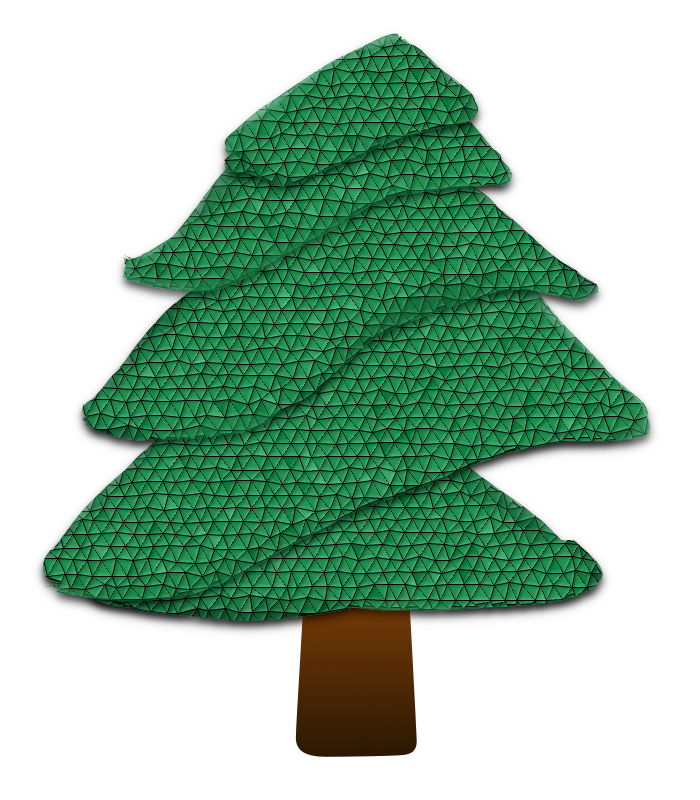
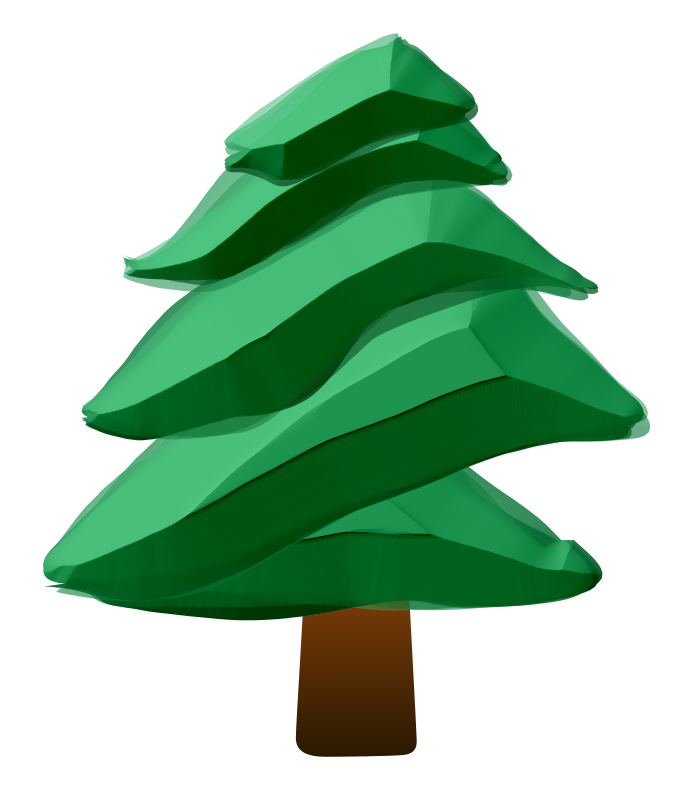
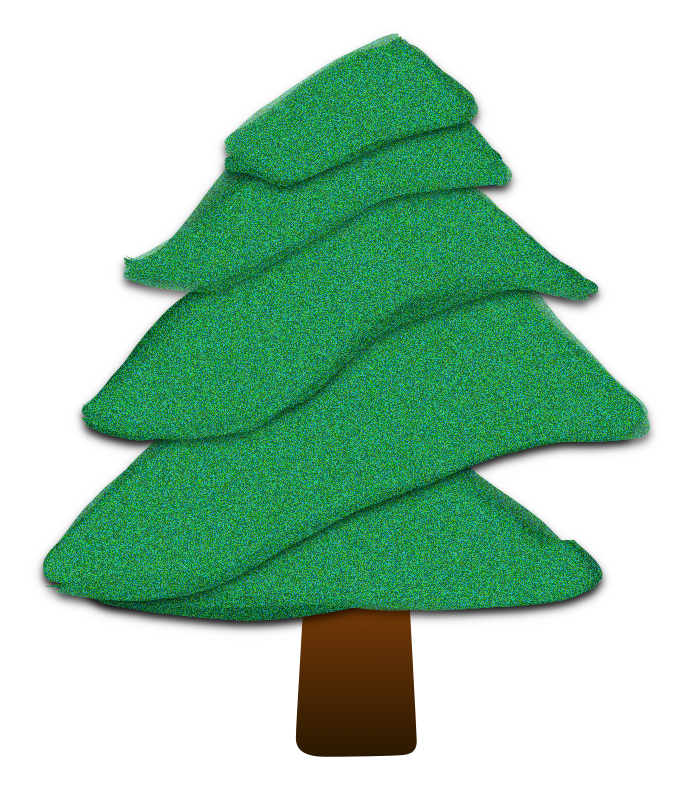
Once all the layers are maximised you can start to experiment with the decorative custom font filters. Here are some some examples that mainly also use drop shadow:
Using the Custom Font Artistic Pack (Cubism option):

Using the Custom Font Artistic Pack (Glass Tile option):

 Login
Login Register
 Tweets
 FAQ
FAQ Advanced Search